Activities
CNC Milling with JSCut
JSCut is an Open Source CAM system that runs entirely in your browser, with it you can generate GCode for a selection of simple pocket and engraving actions based on an SVG vector graphic file.
Create an SVG file
First you need an SVG file of the shapes that you wish to cut, one way of doing this is with the Inkscape software.
NB: Your file needs to be the exact dimensions that you want to cut, there is no scale operation, therefore it is a good idea to switch Inkscape to mm as units and ensure everything is correct and perform any required scaling operations before you save the file.
Step 1: Open an SVG file
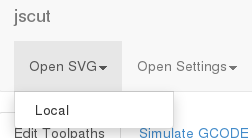
To begin we select and load our SVG file, this will open a file browser on your local machine.
Here is an example of the hackspace logo ![]() logo_flat_50mm.svg
logo_flat_50mm.svg
Configure the units and sizes
Press the Make all mm button to switch everything to metric units.
Now enter the thickness of the material you are working with in the Thickness box, e.g. 5mm
Z-Origin should be Top
Clearance is how far above the surface the bit will be raised when moving between cuts, if the working home is the surface, and the surface is flat, then just 1mm will be enough. If you make this too high then a lot of time will be spent moving the bit up and down.
Configure the Tool
Now we tell it what kind of bit we will be using in the mill, for this example I shall use the 1.8mm endmill.
Refer to this chart of Mill Settings for suitable Pass Depth and Cut speed settings for your chosen mill and material.
NB: This setting effects all of the operations that are currently active, if you need to use multiple tools then be sure to disable or delete existing operations before changing this setting.
- Diameter: Size of cut that the bit will make
- Angle: What shape is the bit (180 == straight sides)
- Pass Depth: How deep the bit should cut each time
- Step Over: fraction indicating overlap of passes
- Rapid: how fast the mill can move when not cutting
- Plunge: how fast it should cut down into the material
- Cut: aka Feed Rate, how fast to move whilst cutting
Step 2: Click 1 or more objects
Now we can select the pieces of our design that we wish to cut, you can select multiple pieces, they will be highlighted in blue. Once you have selected all of the pieces that you want to cut in this operation, press Create Operation, those pieces will now turn black and a new line will appear in the operations section.
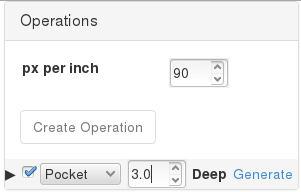
Select the type of operation you require, and the Depth (in mm)
- Pocket - Remove this entire shaped section
- Inside - Trace the interior edge of this shape
- Outside - Trace the outside edge of this shape
- Engrave - Trace the outline of this shape
- V-Pocket - Make a pocket with sloped sides
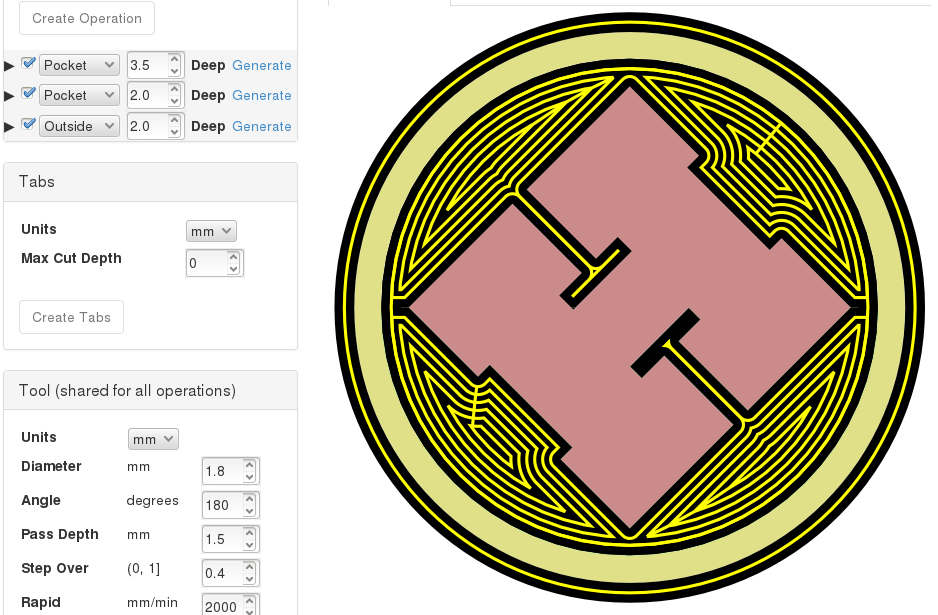
Once selected you can press the Generate button for it to calculate a milling pattern, yellow lines within the shape will show where the centre of the bit will pass, with black background indicating the cut radius.
Rinse and repeat
For this example we want the following Operations :-
- Material 5mm thick
- White above H - Pocket 3.5mm
- Green below H - Pocket 2.0mm
- Yellow circle - Outside 2.0mm
Now press Save GCODE and save the file locally as something like inside.gcode
One more operation now to cut out the finishes shape:
- Delete all of the operations (expand the arrow, delete operation)
- select all of the pieces at the same time
- Create operation - Outside, 5.5mm
- Save GCODE , this time as outline.gcode
You can if you prefer change the tool at this point, and enter the parameters for the 3.175mm tool, which can perform the cut out operation much faster then the finer tool used for the shape engraving.
Now, pretty much follow the Controlling the Mill tutorial to create your work.


